For homeowners comparing spray vs. brush-and-roll cabinet painting, the application method can shape how smooth the finished cabinets look under kitchen lighting. A sprayed coating can create a clean, even surface, while brushing and rolling may leave light texture if the products and technique are not suited to cabinet work.
The tool is only part of the decision. Surface preparation, cabinet material, coating choice, and the painter’s experience all affect how the finish looks and holds up over time. If you are also planning your budget, our guide to the cost to paint kitchen cabinets explains the factors that affect pricing.
Key Takeaways:
What Each Cabinet Painting Method Involves
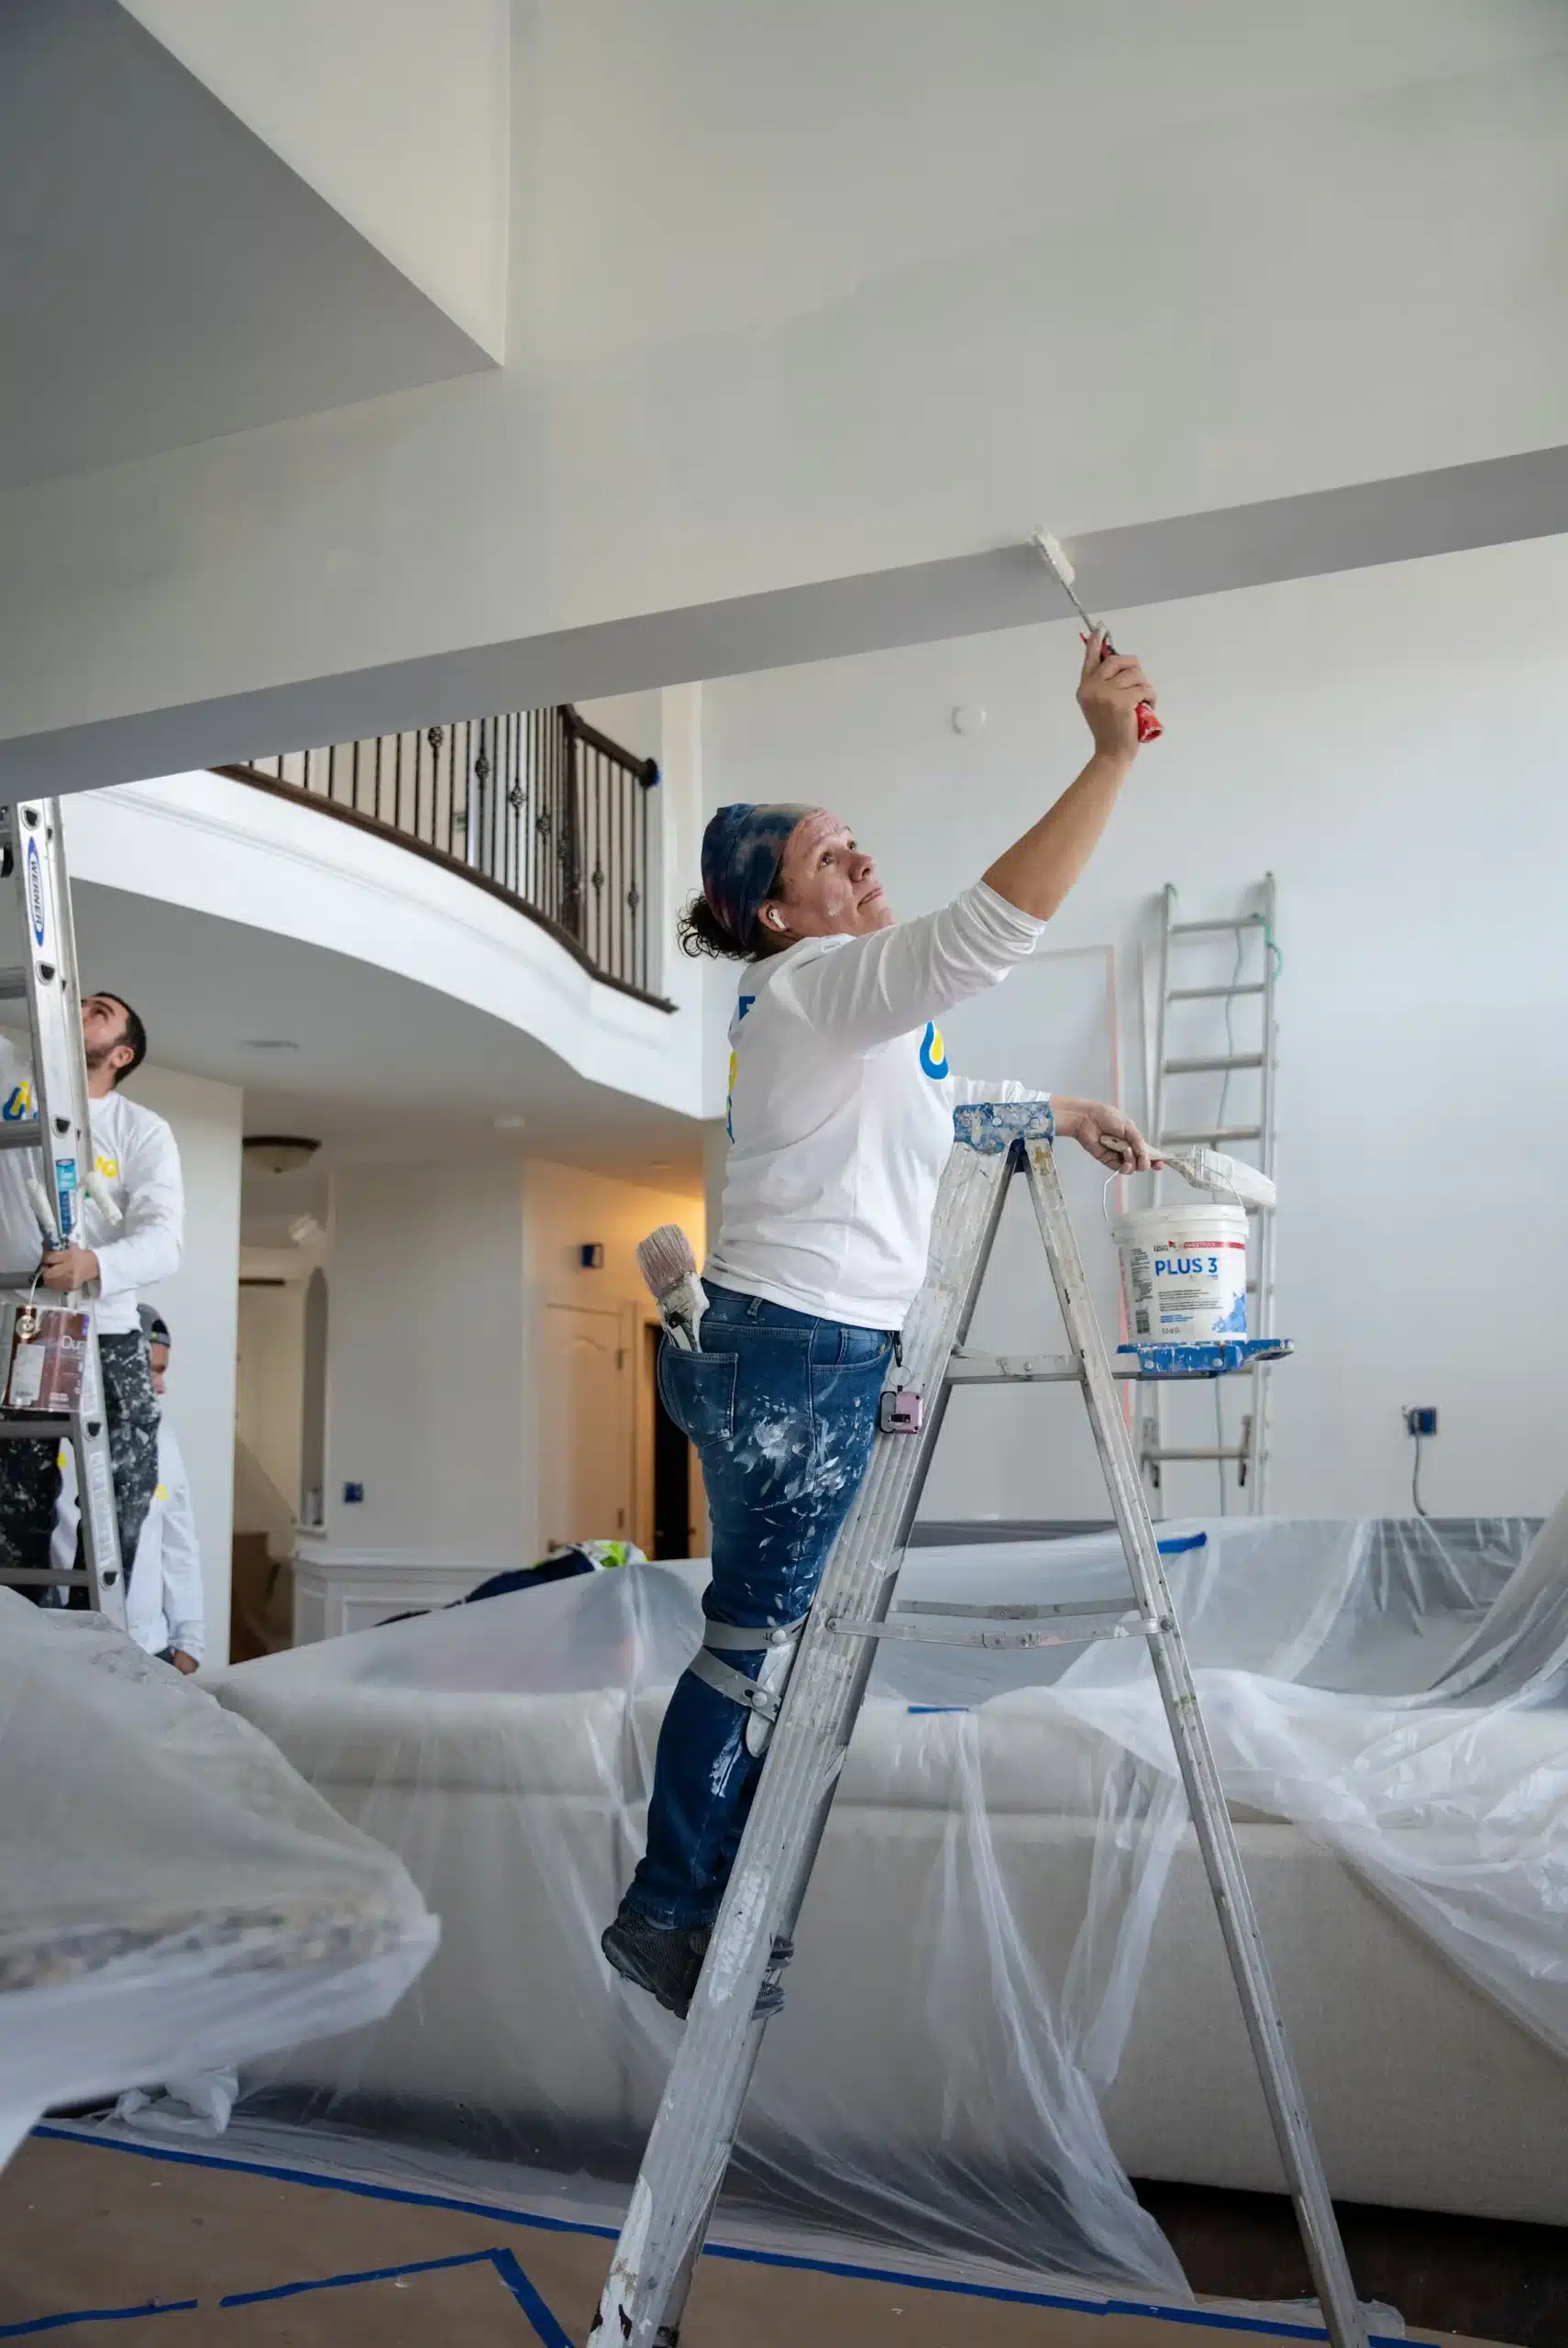
Brush-and-roll cabinet painting uses an angled brush for corners, edges, face frames, and detailed areas. A foam or short-nap roller is then used on flatter door panels and drawer fronts. This setup costs less, takes less masking, and is easier for many homeowners to control.
Spray application uses professional equipment to break the coating into fine particles and place it evenly across the surface. HVLP equipment uses a high volume of air at low pressure, while other professional systems may use a different spray setup based on the coating and workspace.
The broader differences between spraying and rolling paint also apply to cabinets, but cabinet doors require more detailed prep and a coating made for frequent handling. The gap between DIY and professional cabinet painting often comes down to equipment control, surface preparation, and curing conditions.
How the Finished Surfaces Compare
A properly sprayed coating can create a smooth, even appearance with fewer visible brush strokes or roller marks. This is one reason spraying is commonly used for cabinet doors, trim, and detailed profiles.
Spraying does not remove the need for careful masking. Floors, counters, appliances, walls, and nearby surfaces still need protection from overspray. The person using the equipment must also control spray pattern, distance, speed, and coating thickness.
Brushing and rolling leave more physical contact with the surface. A good foam roller and self-leveling cabinet coating can limit texture, but strong overhead lighting may still reveal a light roller pattern or brush marks. Sanding between stages may be needed based on the coating system and the condition of the surface.
The number of primer and finish coats depends on the existing cabinet color, material, product instructions, and desired finish. A sprayed surface is not automatically durable. Poor cleaning or weak adhesion can cause failure even when the finish looks smooth at first.
When Brushing and Rolling Can Work Well
Brushing and rolling can be a practical choice for small projects, touch-ups, simple door profiles, or cabinets where a light hand-applied texture is acceptable. The result depends on the coating, roller type, brush quality, sanding, and the painter’s technique.
Wood grain also changes the outcome. Open-grain woods such as oak may still show visible grain after painting, regardless of the application method. Homeowners who want a flatter surface may need added grain-filling and sanding steps before primer is applied.
Closed-grain surfaces such as maple can support a smoother appearance, but the existing finish still needs proper cleaning and abrasion. Detailed raised panels may benefit from spraying because the coating can reach grooves and edges without heavy brush buildup.
The honest comparison is not that one method always works and the other always fails. Spraying is usually the stronger fit when the goal is a smooth, factory-style appearance. Brushing and rolling can still produce a clean finish when the cabinet profile, preparation, and coating system support that method.
Preparation Matters More Than the Application Tool
Many cabinet coating failures begin below the finish. Kitchen cabinets collect cooking grease, hand oils, cleaning residue, and moisture. Paint and primer may not bond well if those materials remain on the surface.
A professional cabinet preparation process may include:
Our guide to how surface preparation affects paint durability explains why cleaning, sanding, and priming affect adhesion. You can also review common cabinet painting mistakes before starting a DIY project or comparing estimates.
The PCA industry standards for surface preparation outline different preparation levels and help contractors and property owners define the expected scope. The correct level depends on the surface condition and the finish expected from the project.
What a Professional Spray Process Looks Like
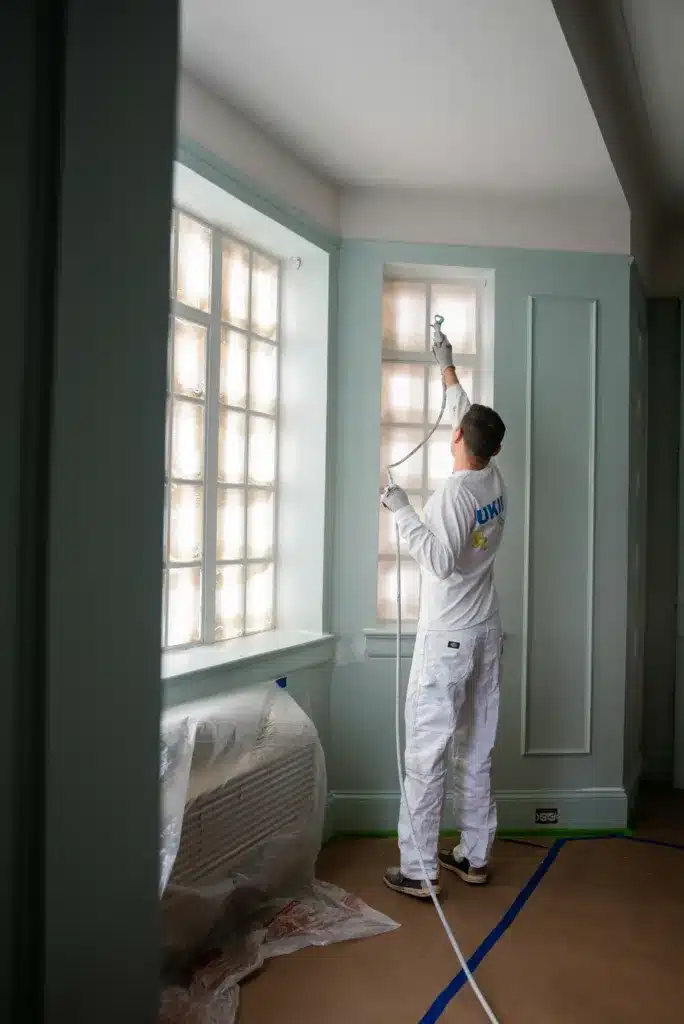
Professional cabinet spraying involves more than pointing a spray gun at a door. Doors and drawer fronts are removed, labeled, and finished separately. Nearby surfaces are covered, and the work area is set up to control dust and overspray.
The equipment must be adjusted for the coating being used. The painter controls the spray pattern, fluid flow, distance, movement, and overlap based on product instructions and the surface being coated. Thin, controlled coats are used to reduce runs, heavy edges, and uneven areas.
Drying and curing are also different. A coating may feel dry before it has reached the hardness needed for normal kitchen use. Doors should be handled and reinstalled according to the product’s stated recoat and cure times.
Ukie Painting removes cabinet doors and drawer fronts, prepares and sprays them off-site, and then reinstalls the finished pieces. The company’s published cabinet process uses cabinet-grade primer and finish products selected for this type of work.
Questions to Ask Before Hiring a Cabinet Painter
The answers to a few direct questions can tell you how clearly a painter has planned the work.
A contractor should also explain the project scope, excluded repairs, payment schedule, expected timeline, and final walkthrough. Our guide on what to look for in a painting contractor can help you compare more than the final price.
Spray vs. Brush-and-Roll Cabinet Painting: The Bottom Line
Spraying is usually the better choice for homeowners who want a smooth cabinet finish with minimal brush or roller texture. Brushing and rolling can still work for smaller projects, simple profiles, and surfaces where a light applied texture is acceptable.
Neither method can make up for poor preparation. The cabinets must be cleaned, sanded or deglossed, repaired as needed, primed with a compatible product, and allowed to cure. The coating system and the person applying it matter as much as the tool.
Ukie Painting works with homeowners in Charlotte, Matthews, Ballantyne, Mint Hill, Harrisburg, and nearby communities. Each cabinet project starts with a review of the cabinet material, existing finish, door style, desired appearance, and condition of the surfaces.
Frequently Asked Questions
Does spraying cabinets create a smoother finish?
Spraying can create a smoother surface with fewer visible brush strokes or roller marks. The result still depends on surface preparation, equipment control, coating choice, and curing conditions.
Can cabinets be painted with a brush and roller?
Yes. A quality brush, smooth roller, cabinet-grade coating, and careful sanding can produce a clean finish. Some roller or brush texture may remain visible, especially under bright kitchen lighting.
Do oak cabinets look smooth after spraying?
Oak has open grain that can remain visible after painting. A smoother result may require grain filler, added sanding, primer, and other preparation before the finish coats are applied.
How long should painted cabinets cure?
Cure time depends on the coating product, temperature, humidity, coat thickness, and ventilation. Follow the product instructions and the painter’s care guidance before heavy use or cleaning.
Compare the Right Cabinet Painting Method
The right cabinet application method depends on your existing finish, wood grain, door profile, and the appearance you want. Ukie Painting can explain the preparation, products, timeline, and application process before work begins, so you know exactly where you stand.
Schedule a free cabinet painting consultation today. Call Ukie Painting at 980-351-5182.